
Venison roasts. Venison steaks. Ground venison. I just want a sandwich already! Now, while I’ve made some damn delicious venison steak sandwiches, I like options. If you are ready to try a new recipe, make some smoked venison pastrami!
I think a lot of hunters are intimidated when they get into to realm of cured meats, but in the end, the process isn’t complicated. It just takes some time. And a little practice. Start with smaller roasts till you learn to get the flavor you like – 2 lbs of lunch meat that came out too salty goes WAY faster than 6 lbs..
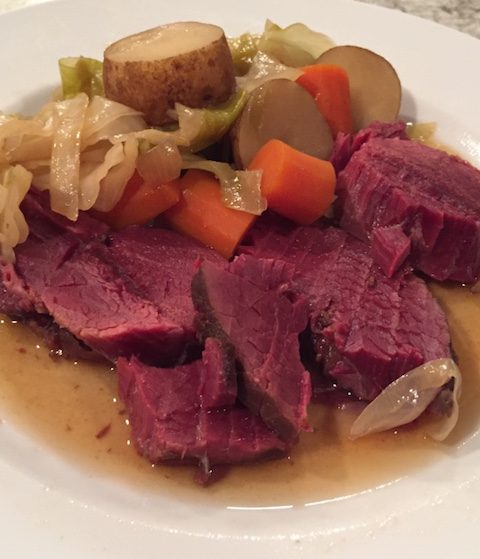
Pastrami starts with a brining process, commonly called corning, which I’ve covered here. Once you’ve corned the roast, you have the option to braise/boil it, or smoke it into a pastrami.
If you smoke the brined result directly, it’ll be way too salty. Soak it in ginger-ale overnight (refrigerated). You can slice and fry a piece for a taste test to determine if additional soaking is needed, but overnight works for me every time with great results regardless of the size roast I used (2-5 lbs).
The next thing to do is to apply a rub. Here’s the rub I use:
Ingredients for the Pastrami Rub:
- 2 tablespoons crushed coriander
- 2 tablespoons ground yellow mustard
- 2 tablespoons of brown sugar
- 1 tablespoon of smoked paprika
- 1 teaspoon of kosher salt
- 1/2 teaspoon of garlic powder
- 2 tablespoons of ground black pepper
Process:
Mix everything thoroughly together in a bowl.
Rub it thoroughly over the roast, getting a nice coating.
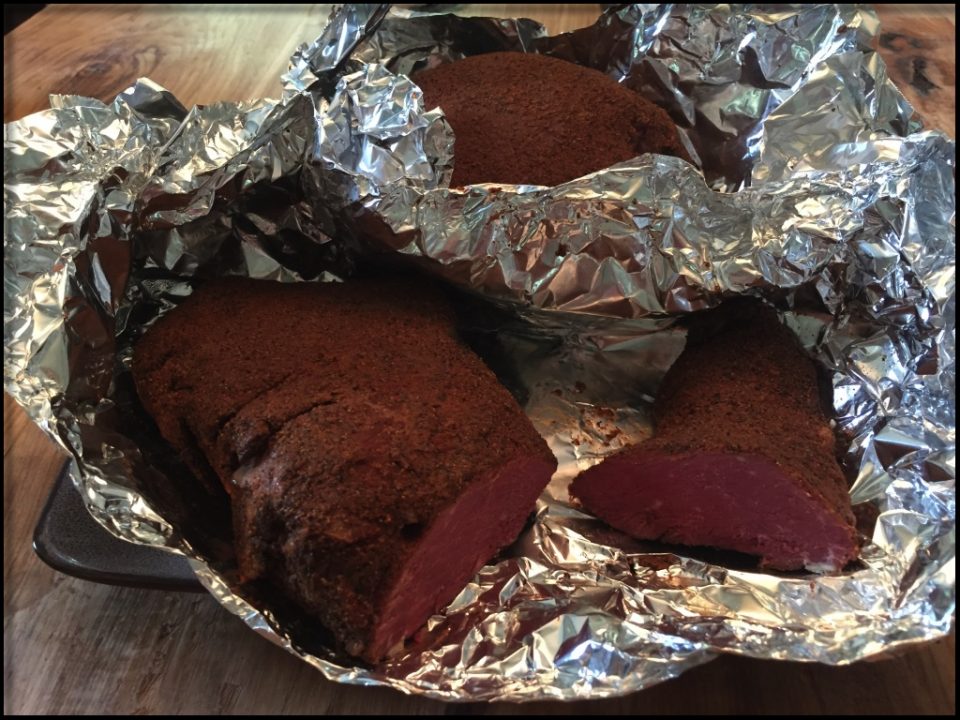
Throw the roast in a smoker set (and pre-heated) to 220° and smoke it with a nice hardwood. About a cup of hickory chips is what I usually use. I never soak the chips. Put the wood chips in AFTER the smoker is pre-heated, otherwise they will all just burn up before it gets to temperature.
The smoke isn’t meant to last the whole cooking time, probably just about an hour or two at the most. You can experiment with that of course.
For food safety reasons, I’ll tell you 160° is the “safe” internal temperature to shoot for. From a meat moisture perspective, you’ll be happier with somewhere below 160° – I usually shoot for 150-155°. It takes 3 to 4 hours, sometimes a little longer. You can make the call on what temp you are comfortable hitting…
If your smoker doesn’t have a food temperature probe built in, I strongly recommend getting one for it. It saves you from having to open the smoker to check the temperature – which drastically drops the temperature, especially if you smoke on a cold or windy day.
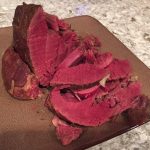
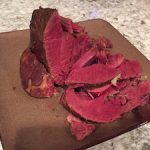
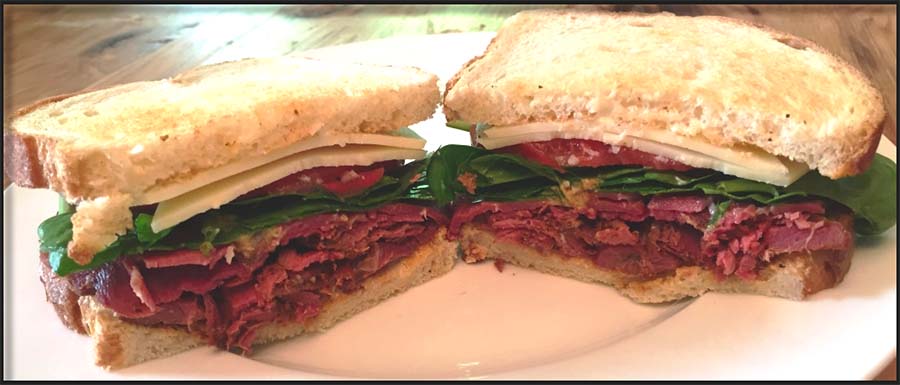
When it’s up to temp, let it cool, then slice up for sandwiches. I usually wrap it in foil, and toss it in the fridge till the next day when I slice it.

While it is quite tasty cold, it is AMAZING heated up a little. Throw it in a pan with some swiss cheese on top, just till the cheese get’s melty. OR, use a panini press. It heats the meat/filling up while grilling the bread at the same time.
Shopping List:
- Electric Smoker
- Meat Thermometer
- Panini Press

Venison Pastrami
Pastrami starts with a brining process, commonly called corning. Once you’ve corned the roast, you have the option to braise/boil it, or smoke it into a pastrami.
Ingredients
- 2 tablespoons crushed coriander
- 2 tablespoons ground yellow mustard
- 2 tablespoons brown sugar
- 1 tablespoon smoked paprika
- 1 teaspoon kosher salt
- 1/2 teaspoon garlic powder
- 2 tablespoons ground black pepper
Instructions
-
Mix everything thoroughly together in a bowl.
-
Rub it thoroughly over the corned roast, getting a nice coating.
-
Throw the roast in a smoker set (and pre-heated) to 220° and smoke it with a nice hardwood. About a cup of hickory chips is what I usually use. I never soak the chips. Put the wood chips in AFTER the smoker is pre-heated, otherwise they will all just burn up before it gets to temperature.
-
The smoke isn’t meant to last the whole cooking time, probably just about an hour or two at the most. You can experiment with that of course.
-
For food safety reasons, I’ll tell you 160° is the “safe” internal temperature to shoot for. From a meat moisture perspective, you’ll be happier with somewhere below 160° – I usually shoot for 150-155°. It takes 3 to 4 hours, sometimes a little longer. You can make the call on what temp you are comfortable hitting…
-
If your smoker doesn’t have a food temperature probe built in, I strongly recommend getting one for it. It saves you from having to open the smoker to check the temperature – which drastically drops the temperature, especially if you smoke on a cold or windy day.
-
When it’s up to temp, let it cool, then slice up for sandwiches. I usually wrap it in foil, and toss it in the fridge till the next day when I slice it.
Related Posts
-
 Venison Pastrami – Smoked Venison Deliciousness
May 6, 2018
Venison Pastrami – Smoked Venison Deliciousness
May 6, 2018
-
 Beer Braised Corned Venison Recipe
November 21, 2016
Beer Braised Corned Venison Recipe
November 21, 2016
-
 How to Cure Corned Venison
December 22, 2015
How to Cure Corned Venison
December 22, 2015
-
Using Nitrites in Curing Meat
October 27, 2015